December 24, 2005

Useful Tools:
1. Cast Kit – 2.5 gallon plastic paint bucket and lid, 25 lbs. Hydrocal B-11, Chain Link wire ties, mixing bucket, rubber gloves, small shovel, mixing stick
2. Knife
3. Torch
4. Basting syringe
5. Spray Wax
6. Compass
7. Camera
8. Reflector
9. Garbage bag
10. Small paper envelopes
11. Notebook and pen
12. Tape measure
13. Colored rubber bands
14. Metal forms
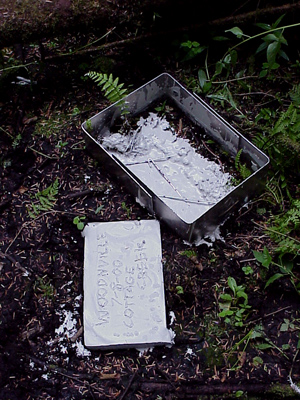
NOTE: There should be a very noticeable difference between an original cast of a footprint and that of a recasting. An original cast should have the substrate surface surrounding the footprint included with it, the recast should not. This makes it very easy to distinguish between the two. If you saw an original cast somewhere and then saw a recast of the same track sometime later, and there was very little difference between the castings, it may make you think that the same individual was cast twice, at different times and places. If this were true it would be very good data. But if it was just a recast, then you might just be wasting your time.
Part I – Identifying and Protecting Bigfoot Tracks / Track Way / Impressions
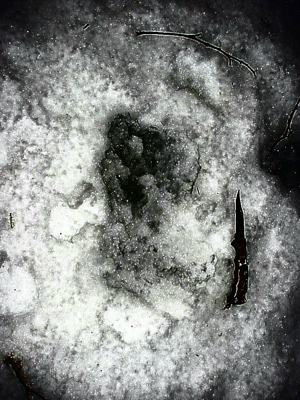
When finding a potential Bigfoot track, always check and make sure you have found all of them before moving freely within the area. Be very careful of where you step, where others with you step and where you drop your gear to the ground. Small aluminum wires with logging ribbon attached can be very effective in identifying a track way. Just stick them in the ground to the side of each track. Even better would be numbered placards, which would help tie in the details of each track and where it was in the track way. Some people just outline the tracks with a stick or knife. Any of these will aid in documenting the scene with a camera later on.
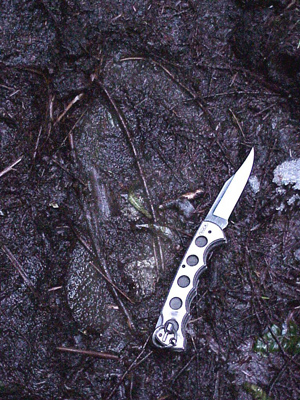
You should try to only remove the debris that does not impact the nature of the find. Leave the crushed sticks or the rock that got imbedded. Remove leaves that fell in after the impression was made but not the ones that were there when stepped on. Use common sense here.
Don’t try to clean out a track to make it look more like what you imagine it should look like. You will be destroying and contaminating valuable information and I won’t mention what you’ll do to your reputation.
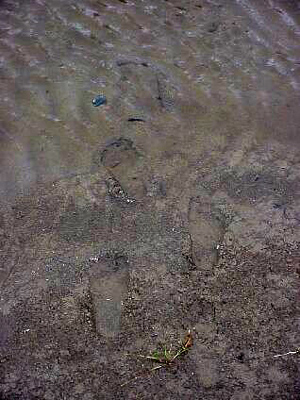
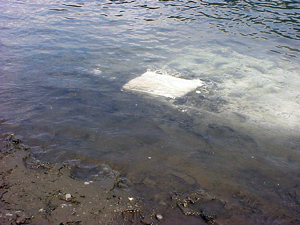
Come across a track that is filled with water, like in a mud puddle, you need to start thinking on your feet because it is you who is ultimately challenged with getting the track casted. I have used knife blades to drain away standing water, even dug areas lower around the track to drain in to. You shouldn’t try a type of absorbent product but you might try a big basting syringe to suck up the water.
A track in grass? Try using a small butane torch to burn the grass out from the track before casting.
A tracking stick can be used to help locate additional tracks. A tracking stick can be easily made in the field and is just a ridged, adjustable step scale. Mark the distance between tracks on the tracking stick and then move the original track mark to the next track and sweep the ground till you locate the next track. You may have to estimate the step if you can’t locate two tracks in line or if the terrain warrants inconsistent steps (i.e. uphill, downhill, slippery soil, jumping, running, possible injury, etc.) You can also mark the length of the track on the stick in the cases where there are different length tracks possibly intersecting.
Once all the footprints have been found, identify the signature print. This would be the one print that has the most information (i.e. best toe impressions, depth, ball print edge, skin folds, dermal ridges, nails, etc.) This is one that you definitely want to cast. Next locate two more prints to cast, for example one from the same side as the signature print and one from the other side. Two tracks from the same side help indicate musculature-flexing differences.
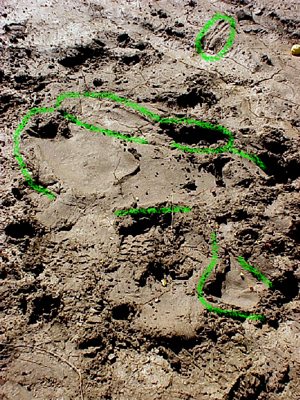
Do not assume that all tracks in the area were made with the feet of the subject. You may also find where other parts of the body came in contact with the ground and left a mark, an unfamiliar mark maybe but one that needs as much documenting as that of the classic footprint. Look for all impressions that are nearby, i.e. hand, knee, arm, leg, buttock, etc.
If the environmental conditions are such that deterioration of any tracks is imminent then by all means try and protect the find. Cover the tracks from weather such as rain or from cracking with too much sunlight. Support any protective covers so that no direct contact with the ground is closer than 12”. This can be done with stones from the area placed around an impression and a ridged cover placed on top. If wind becomes a problem in dislodging this cover then use another stone on top of it. Local tree limbs can be used over the impression with a plastic garbage bag over these to protect from most rain. Use your head out there and you can come up with some way to protect your find.
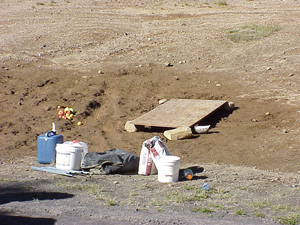
Some impressions may not be able to be protected, i.e. in the rain on a loose soil hillside with no vegetation cover, on a raising river edge, etc. Do the best you can. Pictures are probably the only things you will get in some circumstances. Just remember to include scale and a planar aspect to any measurement, i.e. overall length of a track should be made directly perpendicular and centered above the impression.
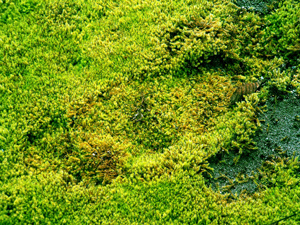
Once you have determined the extent of the impressions, protected them from yourself and others as well as the environment and made necessary documentation grabs where needed you move on to determining if these tracks are worth documenting further.
About Rick Noll
Rick Noll has been actively searching for the Sasquatch since 1969 and continues his pursuit with extended field trips into the Pacific Northwest's most remote regions. Rick has worked with Peter Byrne, René Dahinden, Grover Krantz, John Green, Jeff Meldrum and the BFRO during all this. He helped with many documentaries on the subject including Animal X: The Skookum Expedition and Sasquatch: Legend Meets Science.
Filed under Bigfoot, Bigfoot Hunter, Cryptozoology, Evidence, Forensic Science, Sasquatch